Course Layout
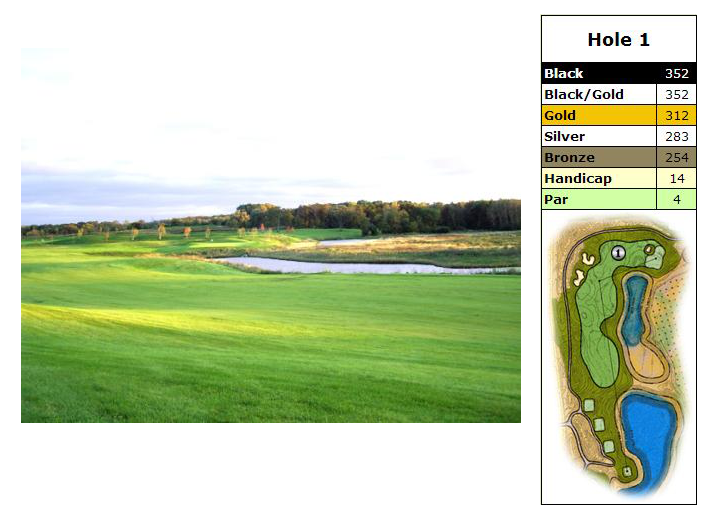
Hole #1: Tee shots that favor the right side, make a relatively simple approach that much easier. The farther left, the longer the approach and the more the hazard becomes part of play.
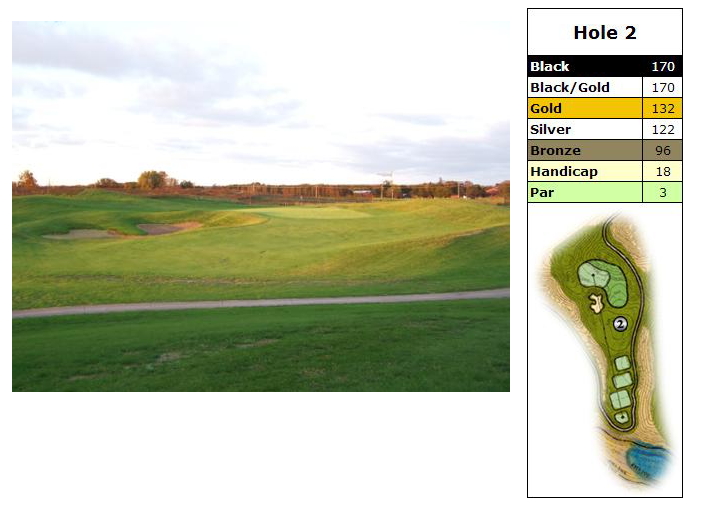
Hole #2: The putting surface is hidden from the tee, so depth perception is a bit tricky here. Not a difficult up and down if the green is not hit from the tee. Green side bunker must be avoided for any chance at an up and down for par.
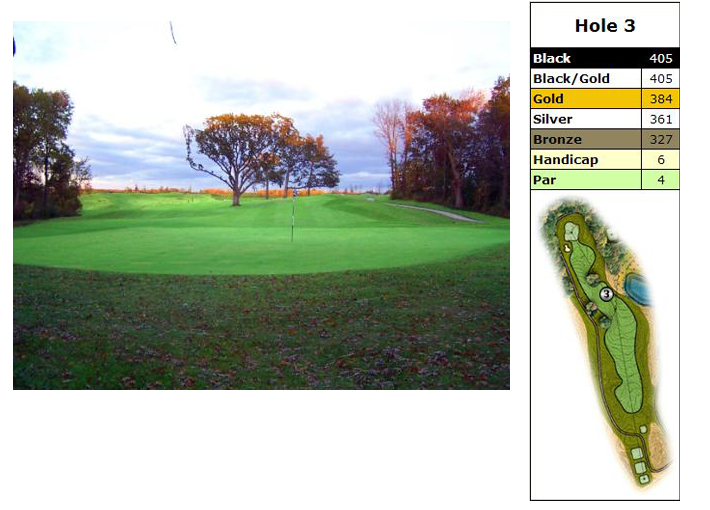
Hole #3: This tee shot must be long enough to get past the 3 trees guarding the left side of this hole, BUT not be long enough to enter the hazard through the fairway. This green has some pretty pin placements- aim the approach accordingly.
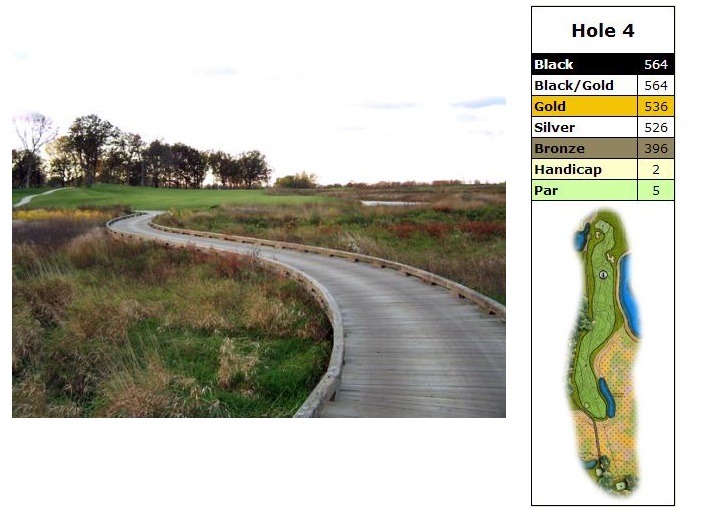
Hole #4: A true 3 shot Par 5. A precise tee shot avoiding hazard on the right and trees on the left must be positioned for a 2nd shot that is not impeded by huge Oak at bend of fairway. Approaches to this green must reach the green or be long- getting up and down is impossible from in front of this green.
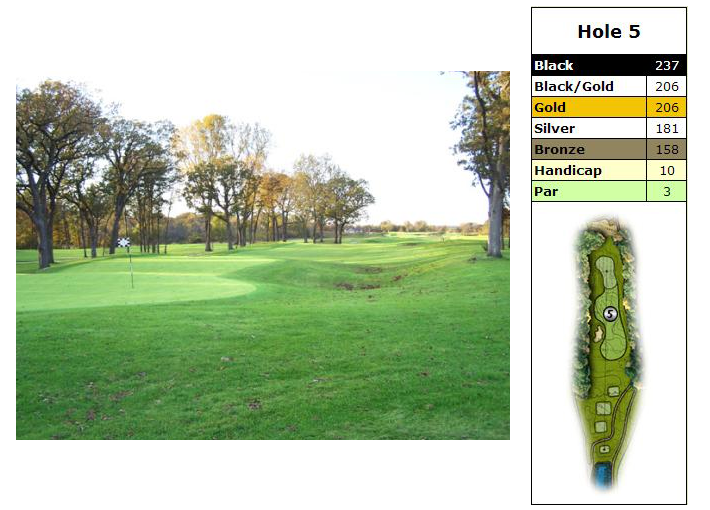
Hole #5: This is one Long Par 3. Shots to this green are better left short than missing right or left. Big dip in middle of this green makes putting and making Par a tremendous feat.
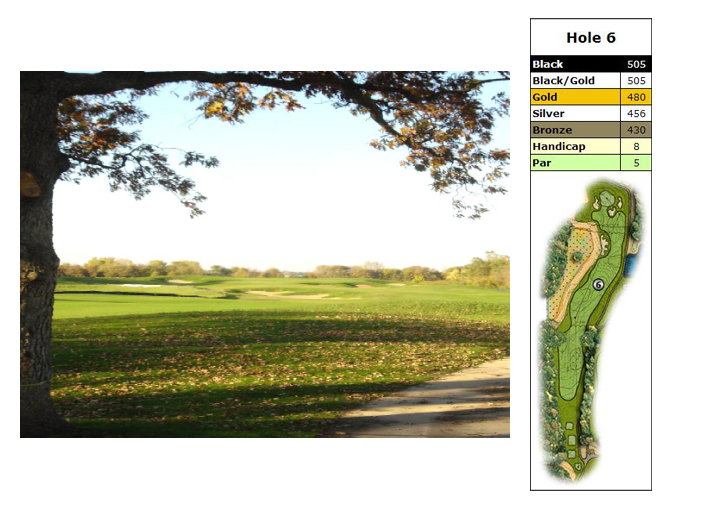
Hole #6: This tee shot is well framed for the golfer. Long hitters must be wary of hitting their tee shot left of center as the hazard is certainly reachable and not visible from the tee. This green is reachable in 2 for longer hitters. This green has 3 tiers all sloping from back to front.
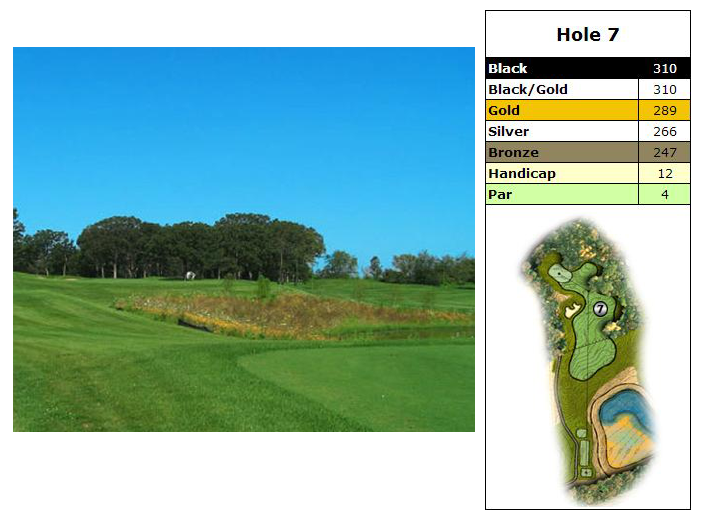
Hole #7: This rather short Par 4 is drivable for some players, but as with Hole #2, the Shorter and/or Smarter player puts their tee shot just short and to the right of the fairway bunker. This green is elevated on all sides, so missing the green will produce some run off.
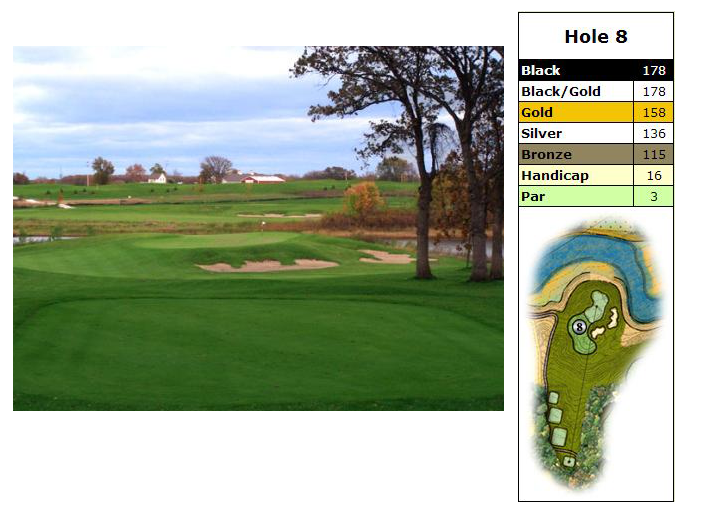
Hole #8: This picturesque Par 3 is down hill, so club selection is vital. Don’t even try to get close to a back pin placement. Missing the green on the left almost assures a bogey or worse.
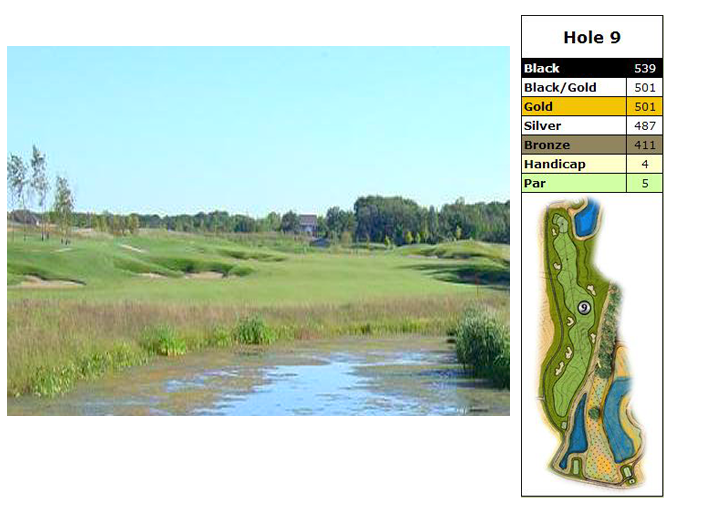
Hole #9: This tee shot must avoid strategically placed fairway bunkers allowing for a rather simple 2nd shot. Golfers approaching from 100 yards or less can get aggressive, but this green is well protected by a deep bunker on the left and hazard just off the green on the right.
Hole #10: A good tee shot favors the right side. Second shot should be played to center or left side of fairway avoiding fairway bunker on the left. Approach to undulating green from the left side is much easier.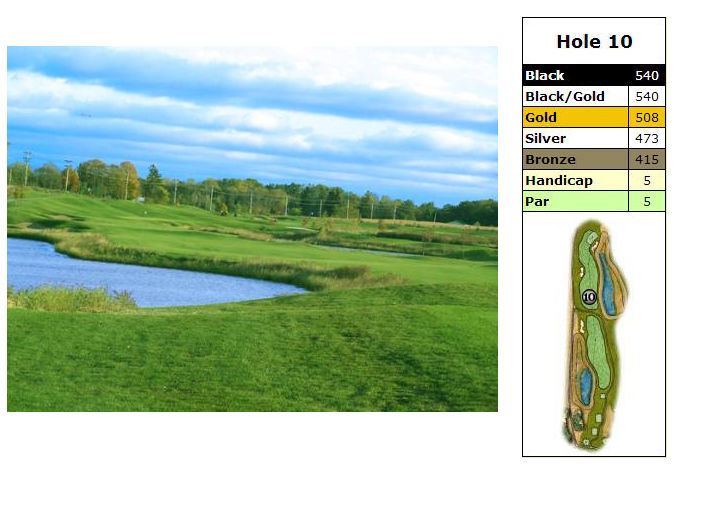
Hole #11: Long Ball Hitters can try to drive the green. Shorter and/or Smarter hitters want to stay just short of right fairway bunker for the best angle to the pin. Be sure to be on the right level of the green for any shot at Birdie.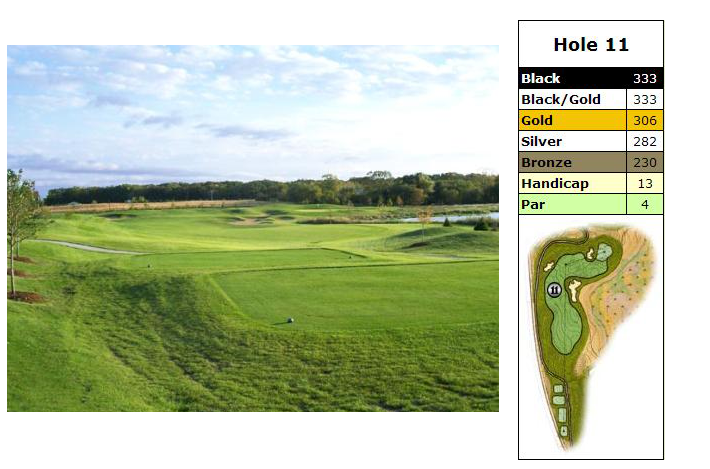
Hole #12: A long carried tee shot must avoid fairway bunkers on right and left. Second shot down middle or right side of fairway leaves an approach to a somewhat blind green. Up and Down around this green is very tough.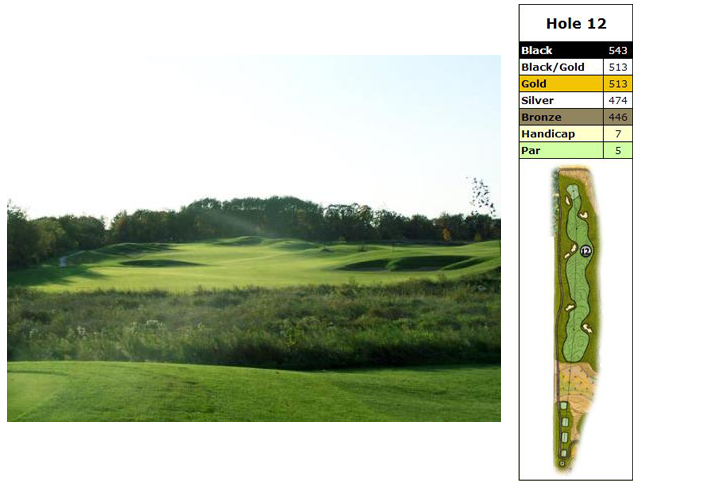
Hole #13: 2nd shortest Par 3 on the course requires a shot that favors the left side of the green. Not much room for error right of the green.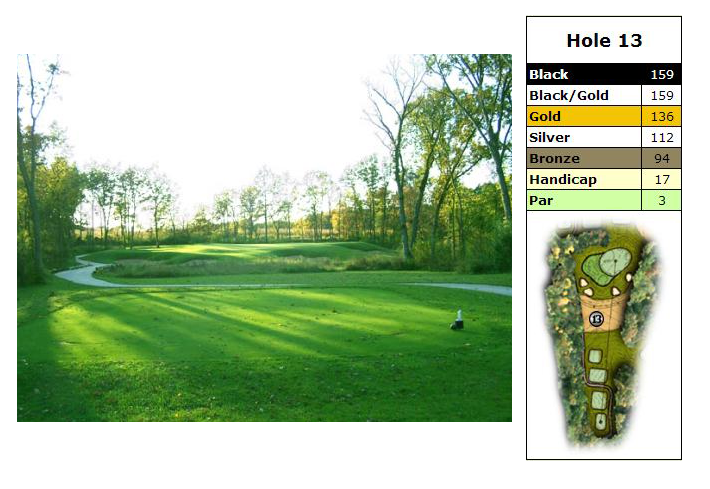
Hole #14: Tee shot must find fairway and be as close to the hazard that cuts across the fairway as possible. This still leaves a tough approach to an elevated, well guarded green. Take a Par here and run to the next tee.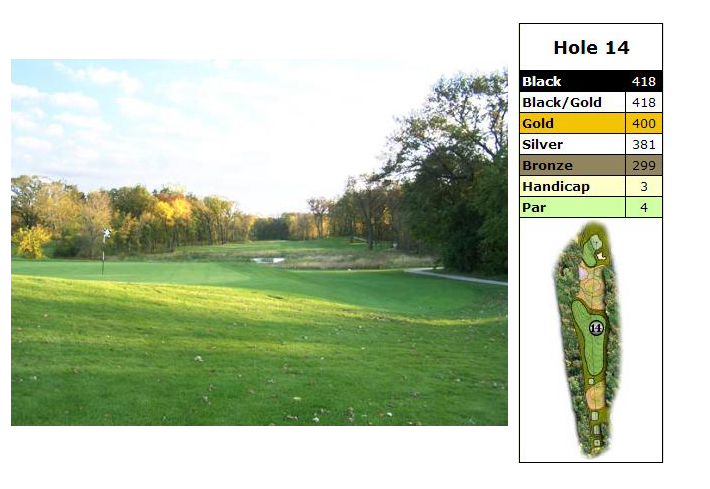
Hole #15: Again an accurate tee shot avoiding fairway bunkers is a must. Approaches to this green must stay below the hole- long here is a sure bogey or worse.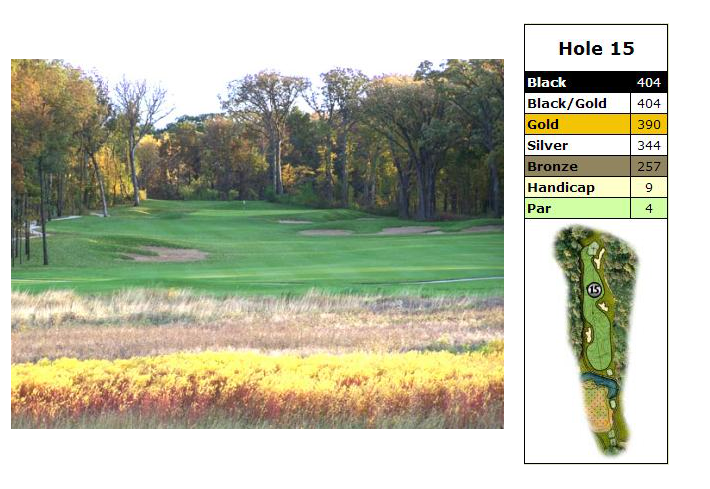
Hole #16: As close to a breather as possible. Any tee shot that doesn’t find the fairway bunker is a success here. The approach here is not even that diffucult. It’s once the ball finds the green that the real fun begin here.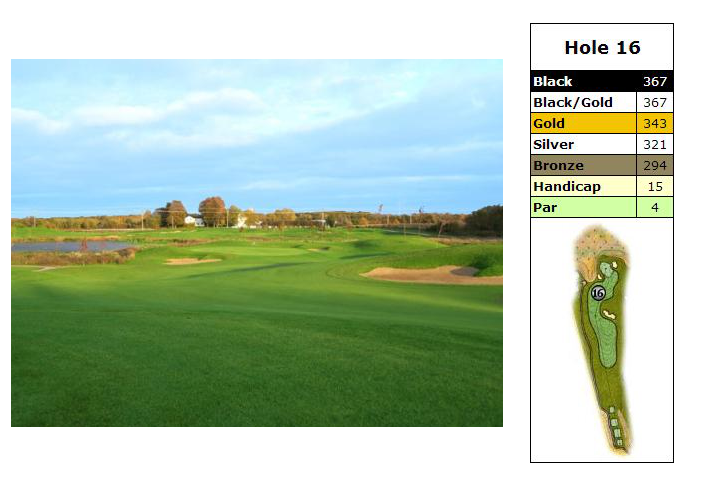
Hole #17: Wow – what a Par 3. Don’t be more than 1 club short or 1 club long of this pin- as both are jail. This wide green allows for some room for error on either side. It’s best to stay below the pin for maximum chance of 2-putting.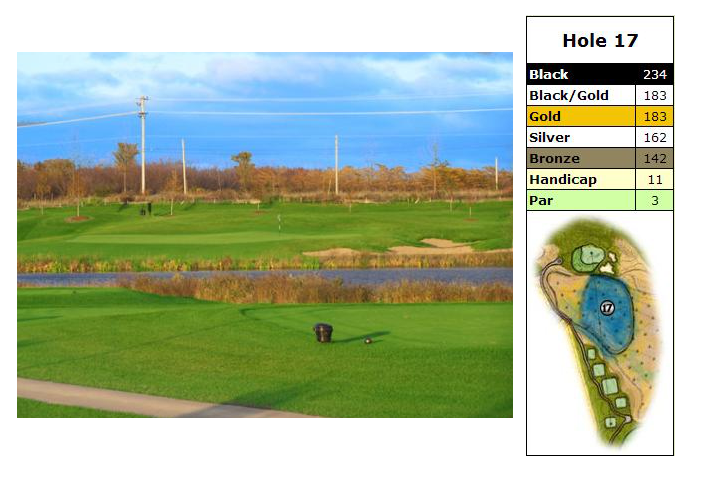
Hole #18: Tee-Shot: Tough. Approach: Tough. Green: Tough. A long straight tee shot avoiding both fairway bunkers is imperative for any chance of hitting the green in regulation. This green is really 3 different putting surfaces- choose your club carefully. Once near or on the green, you must be on the right level for any chance at a good score.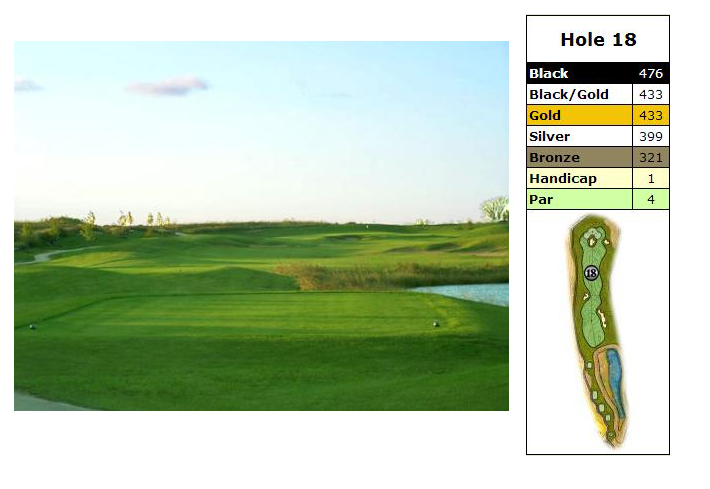
LOCATION